May 17, 2012

It worked for me - laundry

It's another "it worked for me" installment, from me.

Laundry.  Need I say more?  For most people I know (especially mothers and fathers of multiple children), this is a dreaded chore.  Although I've come to realize that each person has a different part that they dread the most.  Some hate the whole process, some hate sorting and washing, some hate folding, and most hate putting away.  Any of these can lead to enormous amounts of dirty laundry, or living out of laundry baskets, either filled with clean folded clothes or clean clothes "three days fresh" from the dryer.  I'm not even going to mention ironing, wee, because, I just don't iron.  

For myself I don't mind doing the laundry (we quit sorting laundry one child and 3 years ago, it just all goes in together, unless I notice a really big influx of new red stuff, then that gets a load of its own, typically just the first time though).  Anyway.  Moving on.  I dread folding and putting laundry away.  It's One of my top 10 most dreaded house chores.

Inevitably I end up with a rather large pile of dirty laundry (the three year old could be hiding in there and I would never know, large).  Then there is always that day week when I have to catch up.  And then nothing gets put away and most of it gets put back in the dirty clothes because  no one wants to take care of the mess 
of laundry... And the cycle continues.

BUT NOT ANYMORE!

There is a new laundry system in town, and so far, it's working for me!


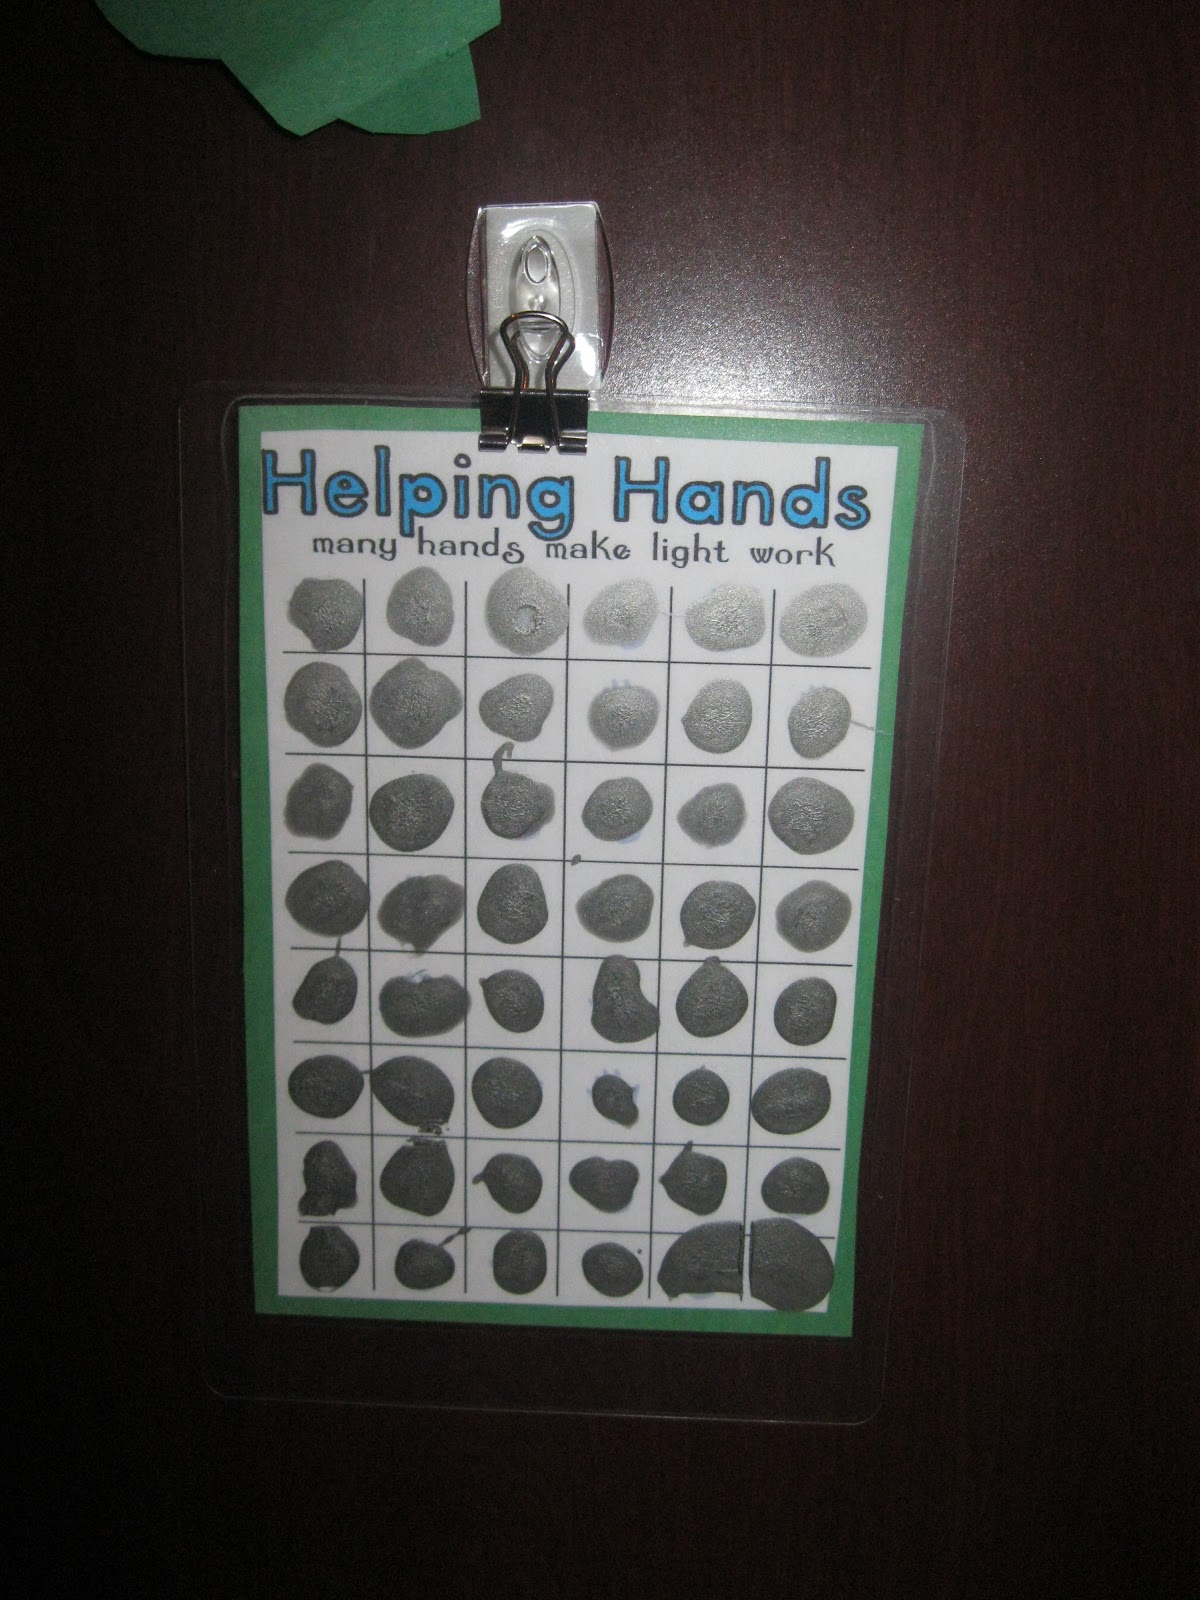
This is hanging in my laundry room.  Everyone has a laundry day.  There are six of us, I've combined the youngest kids (they share a room anyway), so that means I have to do clothing laundry five days a week and then the sixth day is towels, sheets etc.  keep in mind that since I don't sort, this is about 1-2 loads a day and often for the second load I can get towels in to and have very little to do besides sheets on Friday.  

Each person is responsible to have their laundry in the laundry room the morning of their day, I will do my best to get the laundry done that day, but if for some reason  I don't feel like it have time, most of them are perfectly capable of doing the laundry themselves.  If I do do the laundry, it comes out of the dryer and goes in a basket that they can shove into their closets and dresser drawers fold neatly and put away.

I don't mind doing six loads of laundry in a day, as long as I don't have to fold it and put it all away. 

That's my laundry system and I'm sticking to it!  What about you?  What works for you?

May 9, 2012

It Worked for me...

Helping Hands!

A while back I linked you to Kathy's post about helping hands, a simple way to have the kids remember the five things they had to do each morning and night, without having to keep track of a chore chart or something more difficult.  I could relate to Kathy's words all to well:
I had been debating about a chore chart but I just don’t want to have more work for me to check off, or move things around, or mess with stickers all the time….I know I would totally give up on that after a week, so that is why this is so appealing to me.  I’m not saying at all that chore charts are a bad thing, I just am saying that I am lazy with those extra tasks :)  


I in fact had tried chore charts.  And always forgot about them within about a week, two weeks max.  Then the kids got mad because they didn't get their allowance or whatever...  so then we quit.  


I've also always struggled with allowances.  I want my kids to help out around the house with chores because they live here and are a part of a family.  Not because they get paid.  But yet, I wanted them to have their own money for the things I don't feel like giving them money for either.  


Enter: My version of helping hands (with a step by step instruction for making your own!)


To start... you will need a template of the helping hands chart, or one you've created on your own.
Helping Hands PDF black & white
Helping Hands PDF color


Print one sheet, just to try it out, see if it works for you before investing to much time and effort.
You will also need some color paper/cardstock/scrapbooking paper
And, either laminating pouches or contact paper


The hands all print out blank, you can add your own dollar amounts with pen or light marker.  I knew that I wanted the max amount on my cards to be $10, knowing that it was likely they would never get all of the squares uncovered, and I knew that I wanted blank hands as well, to reinforce the concept of helping because we are a family.  Some cards have 10 spots of $1, some have anywhere from a dime to $3 on various spots.  This is a great way to make it your own, whatever works for you and your family.  You could even do special treats instead of money, the possibilities are endless!


OK, so once you've got all of that filled in, you need to use a gluestick to glue the templates onto a slightly larger piece of colored paper, unless you don't want a border, then the same size would be great.  Just to cover the back, so that sneaky kiddo's can't try to see from the backside.  


Then you laminate it.  Either with thermal pouches and a laminator, self stick laminating pouches or contact paper, which you could use to do both sides or just the front, your choice!  Trim them up, and they are ready to go.  


Next, you will need some dish soap and some silver paint (or color of your choice).  Oh, and don't forget the Diet Coke.  It helps get the job done!  It helps get ALL jobs done!


Mix the dish soap and paint approximately one parts dish soap and 2 parts paint.  I tend to err on the side of using to much dish soap, and then the paint dries all sticky and soft, so maybe try to err a bit more on extra paint.  
This picture makes it look like I did one to one, but I didn't.  The paint is much thicker than the soap here!


Mix it all together nice and good.  
You could use lot's of various objects to put the paint on.  I chose to use the back of a paintbrush.  I just dipped it in the paint and then dotted it on the hands.  It doesn't have to be perfect, but it does have to be covered.  If the paint seems to be to light, you may have to add a bit of black just to darken it up a little.  


Dot.  Dot.  Dot. until you get them ALL covered.  (It's a bit boring, but press on)


And then put them somewhere safe, away from little hands, and let them dry.  It takes a good 6-8 hours, overnight is probably best.  The next morning I scratched off some of the "extra" paint so that it was a true grid and not just blobs.  


And then put them somewhere easily accessible to the kids.  Mine are hung on the wall on the side of the refrigerator.  I also had my husband drill a small hole into a Popsicle stick and hung that with the cards for the kids to use to scratch off a dot.


My kids get to scratch one off every time they do something helpful.  Like unload dishwasher, pick up sticks in the yard, babysit, clean off table, etc.  They can also sometimes scratch one if they are caught doing something good.  Like reading to baby sister (maybe she isn't a baby, but whatever). 


As I suspected, the first week the most I gave out was $5.15 and the least was $2.50.  The second week I gave out 25 cents to one child and 50 cents to the other.  Not because we forgot to scratch, but because they really were just THAT helpful.  So far, each child has had one card with a larger cash value hand and then just a few smaller values, and one card with lot's of smaller values and I can't say that I appreciate one more than the other.  They both have pros and cons.  


I've created templates for you with two different verses on them about helping each other.  
You can find them here:

Helping Hands PDF black & white
Helping Hands PDF color
or feel free to create your own!

I hope this works for you as well as it has for me!  Or that it at least gives you an idea for something that will work for you!

May 7, 2012

It worked for me... or you

With M-LIFE done for the year I'm wondering about what to do with the blog.  I would like to have some regular posting going on, but I want to keep it interesting too.

Thinking about what I find interesting when looking at a magazine I've got an idea!  How about a It Worked for Me series?  Kind of like the post where I shared a post from Kathy's blog?  But, you don't have to have a blog in order to share, you do need to email me with your idea though!  bell*lynette@gmail*com (replace the * with a .)  I would love it if you could include a picture that I can post along with your idea, but if that isn't possible then just words are great too!

I took one of Kathy's idea and made it my own, more applicable for my older kids, but usable for younger kids as well, I'll share that next week!

FYI:
You do NOT need to be a member of M-LIFE in order to send me a "It worked for me" post.
If you send a photo you are giving me permission to post that picture on this blog.

Any other questions?  Feel free to contact me at the address above!

May 6, 2012

Valuable gifts

I wanted to share all of our beautiful artwork from Fridays meeting! 

There you have it. M-LIFE's own museum of very valuable artwork. Value in the eyes of God!


May 3, 2012

Final M-LIFE meeting

Join us on friday as we celebrate another great year of m-life with a favorite things party! There will be lots of fellowship and prizes! Who doesn't love prizes?  

Also wanted to let you know about some summer park dates that our hospitality girls have set up... (they have done an excellent job this year, haven't they?)

Huizenga Park June 8th  10-12
Lawrence Street Park  July 13th 10-12
Drenthe Grove Park Aug. 10th 10-12
This is an informal event at various parks. Feel free to pack a lunch if you would like.

If you don't know where one or more of these parks are, don't worry, I'll be posting more information as the dates get closer!  We just wanted to get them to you so you could write them down if you wish!  We know that summers are busy for everyone, so no pressure.

We really hope to see everyone at the meeting on Friday!