
A while back I linked you to Kathy's post about helping hands, a simple way to have the kids remember the five things they had to do each morning and night, without having to keep track of a chore chart or something more difficult. I could relate to Kathy's words all to well:
I had been debating about a chore chart but I just don’t want to have more work for me to check off, or move things around, or mess with stickers all the time….I know I would totally give up on that after a week, so that is why this is so appealing to me. I’m not saying at all that chore charts are a bad thing, I just am saying that I am lazy with those extra tasks :)
I in fact had tried chore charts. And always forgot about them within about a week, two weeks max. Then the kids got mad because they didn't get their allowance or whatever... so then we quit.
I've also always struggled with allowances. I want my kids to help out around the house with chores because they live here and are a part of a family. Not because they get paid. But yet, I wanted them to have their own money for the things I don't feel like giving them money for either.
Enter: My version of helping hands (with a step by step instruction for making your own!)

Helping Hands PDF black & white
Helping Hands PDF color
Print one sheet, just to try it out, see if it works for you before investing to much time and effort.
You will also need some color paper/cardstock/scrapbooking paper
And, either laminating pouches or contact paper

OK, so once you've got all of that filled in, you need to use a gluestick to glue the templates onto a slightly larger piece of colored paper, unless you don't want a border, then the same size would be great. Just to cover the back, so that sneaky kiddo's can't try to see from the backside.

Next, you will need some dish soap and some silver paint (or color of your choice). Oh, and don't forget the Diet Coke. It helps get the job done! It helps get ALL jobs done!

Mix the dish soap and paint approximately one parts dish soap and 2 parts paint. I tend to err on the side of using to much dish soap, and then the paint dries all sticky and soft, so maybe try to err a bit more on extra paint.

This picture makes it look like I did one to one, but I didn't. The paint is much thicker than the soap here!


Dot. Dot. Dot. until you get them ALL covered. (It's a bit boring, but press on)

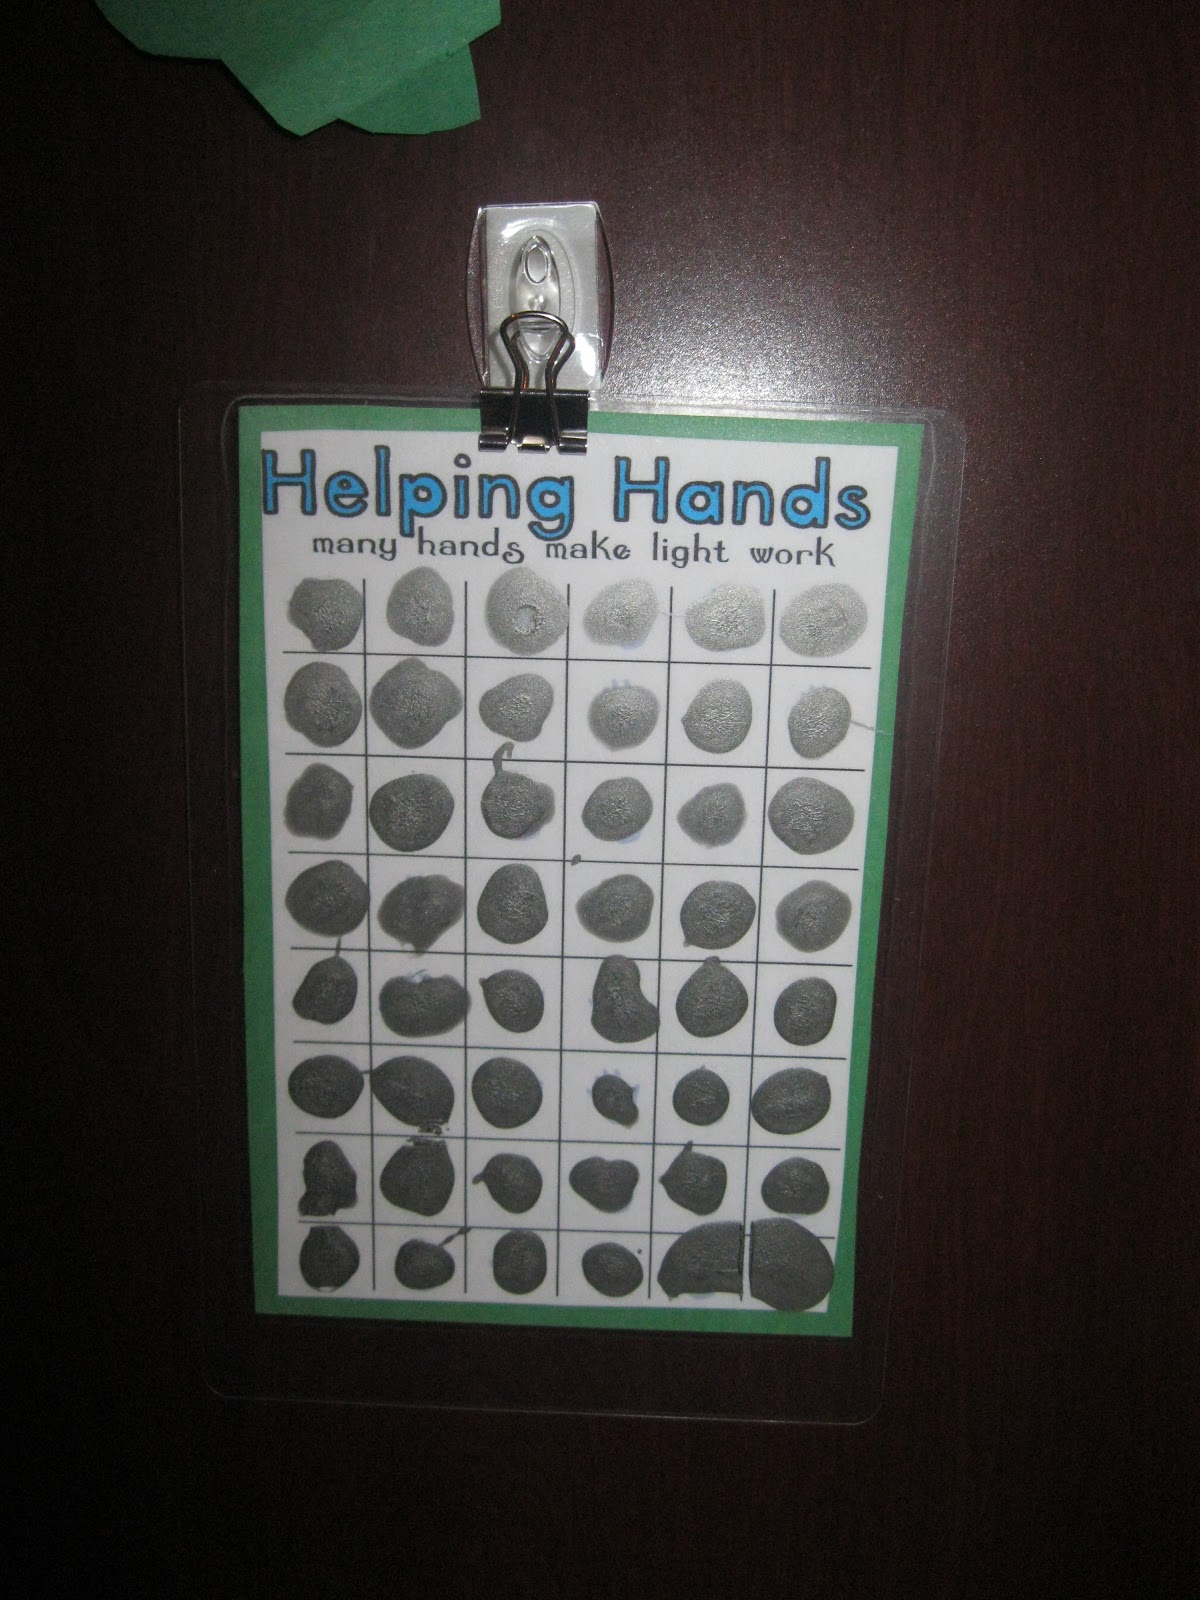
My kids get to scratch one off every time they do something helpful. Like unload dishwasher, pick up sticks in the yard, babysit, clean off table, etc. They can also sometimes scratch one if they are caught doing something good. Like reading to baby sister (maybe she isn't a baby, but whatever).
As I suspected, the first week the most I gave out was $5.15 and the least was $2.50. The second week I gave out 25 cents to one child and 50 cents to the other. Not because we forgot to scratch, but because they really were just THAT helpful. So far, each child has had one card with a larger cash value hand and then just a few smaller values, and one card with lot's of smaller values and I can't say that I appreciate one more than the other. They both have pros and cons.
I've created templates for you with two different verses on them about helping each other.
You can find them here:
Helping Hands PDF black & white
Helping Hands PDF color
or feel free to create your own!
I hope this works for you as well as it has for me! Or that it at least gives you an idea for something that will work for you!
No comments:
Post a Comment